How Do I Get Rid of Carpenter Ants
- HDIGRO Team

- Feb 24
- 8 min read

How Do I Get Rid of Carpenter Ants (Without Guessing, Wasting Money, or Making It Worse)
Carpenter ants don’t eat your house—but they can tunnel through damp or damaged wood. This step-by-step guide shows you how to identify carpenter ants, track and eliminate the nest, use baits safely, fix moisture issues, and prevent them from coming back—plus a printable checklist and troubleshooting tips.
Let’s be honest: carpenter ants are the kind of houseguest that makes you question everything. You see a few on the windowsill… and suddenly you’re convinced your whole wall is hollow.
Here’s the good news: carpenter ants are very beatable. But they require a different strategy than “regular ants,” because the colony is often hidden in moist wood, voids, or outdoor sites—and the ants you see are usually just the foragers.
In my experience, the homeowners who struggle the most are the ones who do one of these two things:
Spray every ant in sight and call it a day, or
Skip the moisture/wood damage check, which is basically leaving the “welcome mat” out.
This guide gives you a clear, step-by-step plan you can follow today.
First: Are You Sure They’re Carpenter Ants (and not termites)?
Quick ID checklist (2 minutes)
Carpenter ants:
Are often large (some workers can look “shockingly big”).
Can be black, red/black, or other variations depending on region.
Leave frass (debris) that looks like coarse sawdust/pencil shavings, sometimes mixed with insect parts.
Most active after dark, which makes night-tracking a powerful trick.
Do not eat wood—they excavate it to make galleries (tunnels).
Termites (very simplified):
Leave mud tubes or “packed” soil-like tunnels.
Often cause blistered paint, hollow-sounding wood, and can leave pellet-like droppings (drywood termites).
Have winged swarmers where front and back wings are equal length (ants’ wings differ).
If you’re seeing mud tubes or structural sagging, treat that as “don’t DIY blindly”—get a termite inspection. (Carpenter ants are still serious, but termites are a different level of urgency.)
The carpenter ant “why”: what you’re actually fighting
Carpenter ants typically set up:
A parent nest that often needs moisture (commonly outdoors: stumps, logs, trees, damp wood), and
Satellite nests that can pop up inside structures once the colony is established.
And here’s the part most people miss:
The ants you see are rarely the core problem
Killing foraging workers has little effect because most ants remain in the nest—and the queen(s) keep producing more.
So your job is to do one of two things:
Locate the nest and treat/remove it, or
Use proper baiting to get the toxicant back to the colony (especially when the nest is hidden).
A quick “stop the panic” plan (what to do in the next 24 hours)
Step 1: Don’t do the #1 mistake (spraying the trail)
Common mistake (and why it backfires):People see carpenter ants and immediately spray strong repellent insecticides along baseboards, trails, and entry points. The short-term result looks amazing… and then the ants “mysteriously” show up somewhere else.
Why? Because repellent sprays can scatter the colony’s foragers, disrupt trails, and make nest location harder. Plus, spraying near baits can reduce bait feeding. EPA IPM guidance commonly warns against spraying around baits.
If you want “quick control,” use targeted methods—but keep your main focus on nest + moisture.
Step 2: Do a 10-minute “evidence sweep”
You’re looking for:
Frass piles (coarse sawdust/pencil shavings)
Ant trails near: windows, eaves, roof joints, porch columns, deck ledgers, sills
Any moisture issue: leaking gutters, plumbing leaks, wet crawlspace, damp basement corners, soft/rotting wood
Pro tip: Mark sightings with painter’s tape and write the time/date. Patterns matter.
Step 3: Night-tracking (the fastest way to find the nest)
Carpenter ants are often easiest to follow after dark.
Use a flashlight (red light if you have it, but not required).
Watch where they go: up studs, along plumbing, behind trim, to a window header, etc.
If you can follow them to a consistent point, you’re getting close.
The “4-Layer” carpenter ant solution (my preferred order)
Think of this like a layered defense. You don’t need to do everything forever—just long enough to eliminate the colony and remove the conditions they love.
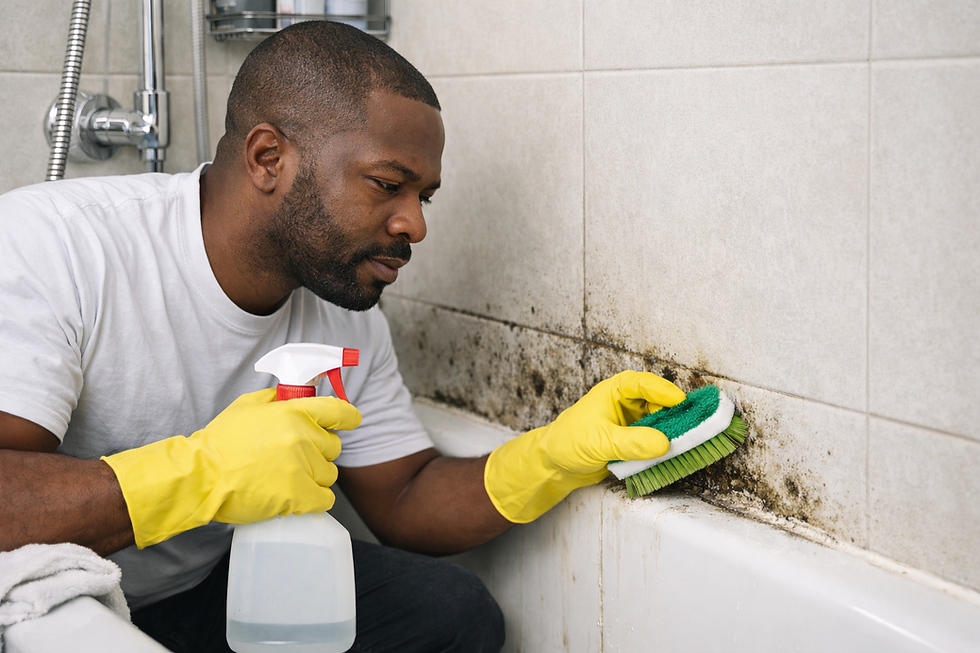
Layer 1: Fix moisture (this is non-negotiable)
Carpenter ants strongly prefer damp/decayed wood and moisture-prone zones. Start here because moisture issues:
Support the nest (especially parent nests), and
Create future nesting sites even after you “win” once.
Moisture fix punch list
Repair roof/gutter leaks and ensure downspouts move water away from foundation
Increase ventilation in crawlspaces/attics (dehumidifier if needed)
Fix plumbing leaks, sweating pipes, and dripping exterior spigots
Replace/repair soft, water-damaged wood (trim, sill plates, deck boards)
Cost-saving insight:If you skip moisture repairs, you may pay for treatments twice—because you’re removing ants but not removing the reason they chose your home.
Layer 2: Find and eliminate the nest (best-case scenario)
University extension guidance consistently points to locating and destroying the nest as the most effective approach.
Where to look:
Indoors: near moisture—bathroom plumbing voids, window/door frames with leaks, behind baseboards near damp areas, around chimneys, under tubs.
Outdoors: rotting stumps/logs, old wet firewood, trees with decay, landscape timbers, deck/porch areas prone to water.
If you locate the nest:
You may need to open an access point (carefully) to treat directly.
Some IPM resources note that direct nest treatments can be effective, including dusts or targeted applications where appropriate.
Safety note: Always follow pesticide labels exactly (“the label is the law”), and keep products away from kids/pets/food areas.
Layer 3: Use baits strategically (especially for hidden nests)
When the nest is hidden (common!), baiting is often the smartest approach—because it uses the ants’ behavior against them. UC IPM notes low-concentration boric acid liquid baits can be slow-acting and non-repellent, and recommends letting ants “choose” among baits after pre-feeding with nontoxic food.
How to bait carpenter ants effectively
Confirm active trails (night is best).
Do not spray around bait placements (you want them feeding).
Place baits:
Outdoors along foundation where activity is observed
Near trails (but not in food prep areas)
In protected locations (away from rain) UC IPM even advises outdoor baiting to avoid drawing more ants indoors.
Monitor and refresh baits if ignored or depleted.
A quality carpenter-ant bait option
Bait station holders / tamper-resistant stations (safer for kids/pets)
Layer 4: Seal entry points and remove “bridges”
NPIC recommends sealing entry areas where utilities enter the home and addressing access points. Virginia Tech also recommends removing vegetation contact (branches/vines) and keeping firewood dry and away from the home.
Prevention checklist
Caulk cracks around windows/doors; seal gaps where pipes/wires enter
Trim branches away from roofline
Store firewood dry and off the ground, away from the house
Remove rotting stumps/logs near the structure (common outdoor nest sites)
Exterior-grade sealant/caulk + backer rod
Simple moisture meter for suspect wood
Comparison table: What actually works (and when)
Method | Best for | Pros | Cons | My “use it when…” rule |
Night tracking + direct nest treatment | When you can locate nest | Fast, decisive | Access can be hard; risk of treating wrong void | You have frass + a consistent trail to one spot |
Baits (slow-acting) | Hidden nests / satellite colonies | Can reach colony via workers; low disruption | Requires patience; placement matters | You can’t find nest or activity is intermittent |
Desiccant dusts (silica/DE) labeled for voids | Voids/nest openings you can access | Low toxicity; effective if dry | Won’t work if wet; needs correct placement | You found openings/voids and can apply safely |
Repellent sprays everywhere | (Not recommended as primary) | Quick knockdown | Scatters activity; can interfere with baiting | Only for targeted perimeter use after baiting plan is underway |
Moisture repair + wood replacement | Root cause | Prevents recurrence | Costs time/money upfront | Always—this is your “permanent fix” layer |
Troubleshooting flowchart: “If you see this… do this.”
If you see carpenter ants in the kitchen at night
Do: Identify entry route (window/pipe gap), place bait near trail (preferably outdoors near that wall), avoid spraying.
Also do: Check for moisture under sink/dishwasher.
If you see frass (sawdust-like piles) inside
Do: Assume a nearby nest or active gallery; inspect above/behind the area (window frame, wall void, sill).
Then: Night-track and consider targeted void treatment or pro call if you can’t access safely.
If ants show up after you sprayed and “they moved”
Do: Stop broad spraying, switch to bait strategy, and focus on moisture/entry points.
If you only see ants after rain
Do: That’s a moisture clue—check gutters/downspouts, roof edges, window flashing, crawlspace humidity.
If you see winged ants (swarmers) indoors
Do: That’s often a sign of a mature colony nearby (or inside). Prioritize nest location and consider professional help.
Step-by-step DIY plan (the “Weekend Protocol”)
Day 1: Confirm + map activity
Confirm carpenter ants (size, frass, night activity)
Place tape markers where you see them
Do a moisture scan (under sinks, around windows, basement/crawlspace corners)
Day 2: Night track + place baits
Night track trails (15–30 minutes)
Place baits where activity is strongest (ideally outdoors near entry)
Don’t disturb trails; don’t spray near baits
Day 3–7: Monitor, adjust, repair
Refresh baits as needed (if consumed or ignored)
Start moisture repairs (gutters/leaks/ventilation)
Seal entry points once baiting is underway and activity is declining
Day 14: Evaluate results
If activity is significantly reduced: continue prevention and finish repairs.
If activity is unchanged or worsening: you likely have a hidden nest you can’t access—this is where a licensed pro can be worth it. (UMN Extension notes carpenter ant control is often best handled by an experienced pest professional due to hidden nests and access challenges.)
Safety notes (please don’t skip this)
Read and follow pesticide labels exactly; keep products away from children, pets, and food areas.
If you’re drilling into walls or treating voids: use proper PPE and avoid electrical/plumbing hazards.
If anyone in the home has asthma/chemical sensitivities, consider least-toxic IPM approaches and/or consult a professional.
This guide is educational and not a substitute for local professional inspection. When in doubt—especially with structural wood damage—consult a licensed pest control professional and/or qualified contractor.
FAQs (quick, real answers)
1) Do carpenter ants mean my house has rot?
Not always—but they strongly prefer damp or previously water-damaged wood, so it’s a big clue to check leaks, gutters, window flashing, crawlspace humidity, or soft trim.
2) What’s the fastest way to get rid of them?
Fastest real path is find the nest (night tracking helps) and eliminate it. If you can’t locate it, bait strategically to reach the colony.
3) Why do I keep seeing them even after I kill a bunch?
Because the ants you see are foragers. Killing workers doesn’t remove the colony; most ants stay hidden, and the queen keeps producing.
4) Are baits or sprays better?
If you can access the nest, targeted treatment can work quickly. If the nest is hidden, baits are often better because they can spread toxicant through the colony—just don’t spray around them.
5) Do carpenter ants eat wood like termites?
No. They excavate wood to build galleries, but they don’t consume it for nutrition.
6) Should I be worried if I see them in a tree outside?
Not necessarily. They often nest in dead/decaying tissue in trees and may go unnoticed for years. But if that tree (or stump/log) is close to your home, it can be a nearby source worth addressing.
7) When should I call a professional?
Call a pro if:
You see recurring activity but can’t locate the nest after baiting attempts,
You suspect structural wood damage,
The nest is in a hard-to-access area (walls, roofline, chimney voids),
You’re not confident using products safely.
Next steps / Key takeaways
Don’t panic-spray and chase them around your house.
Track at night, look for frass, and follow trails to the nest.
Prioritize moisture repairs—it’s the difference between “temporary relief” and “they’re gone.”
Use baits strategically when the nest is hidden; avoid spraying near bait placements.
Seal entry points and remove wood/vegetation “bridges” to prevent a comeback.


Comments