How to Get Rid of Mice
- HDIGRO Team

- Feb 24
- 7 min read

How to Get Rid of Mice (Without Turning Your House into a Science Experiment)
If you’re hearing scratching in the walls at night, finding tiny dark droppings in a cabinet, or catching that quick “shadow dart” across the floor… you’re not imagining it.
Mice are extremely good at three things:
Getting in (through openings as small as about ¼" in some cases)
Staying hidden (nesting inside insulation, behind appliances, under cabinets)
Returning (if you don’t remove their access and food)
Here’s the good news: most household mouse problems can be solved without panic-shopping 14 products and “hoping.” You just need the right order of operations, and you need to trap like you mean it.
Step 1: Confirm Its Mice (and Map the Hot Zones)
Signs you’re dealing with mice
Droppings: small, dark, rice-shaped pellets (often in drawers, under sinks, pantry corners)
Noises at night: scratching in walls/ceilings
Gnaw marks: food packaging, baseboards, pet food containers
Grease/rub marks: along walls where they run
Nests: shredded paper/fabric/insulation
Quick reality check: If you’re finding droppings daily, you’re not dealing with “a single mouse guest.” You’re dealing with a route and a nest.
A fast “Where are they traveling?” trick (that most people skip)
Put a light dusting of flour (or baby powder) along suspected runways—behind the stove, along pantry kickboards, under the sink. Overnight you’ll see tiny tracks and tail drags. That tells you where traps should go (not the middle of the room).
Step 2: The 60-Minute Emergency Plan (Do This First)
If you want results quickly, do these in this order:
1) Lock down the buffet (10 minutes)
Put all pantry food in sealed containers.
Move fruit to the fridge.
Clean crumbs under toaster, stove, and around pet bowls.
Store pet food in a sealed bin (not the bag).
2) Remove nesting supplies (10 minutes)
Pick up paper piles, grocery bags, fabric stacks.
Declutter under sinks and behind appliances.
3) Start trapping immediately (30–40 minutes)
Use multiple traps. One or two traps is the #1 “I tried and it didn’t work” story.
In my experience, people underestimate how many traps it takes. If you’re seeing signs, think 8–12 traps in key zones for an average kitchen + adjacent area.
Step 3: Choose the Right Control Method (Table)
Here’s the simplest way to choose without overthinking:
Method | Best for | Pros | Cons | My take |
Snap traps | Most homes | Cheap, fast, effective | Must place correctly | My first choice for DIY |
Electric traps | People who dislike snap-trap handling | Clean, contained | Costs more | Great if budget allows |
Live traps | You want non-lethal | Reusable | Relocation issues; can fail | Only if you’ll check daily |
Glue boards | Monitoring, tight spaces | Shows activity | Humane concerns; messy | Use only for monitoring |
Rodent bait/poison | Severe infestations, pros | Can reduce populations | Safety risks; odor if mice die in walls | Last resort—use caution |
Professional pest control | Large/recurring infestations | Expertise + exclusion | Costs more | Worth it if you’re stuck |
Tamper-resistant bait station — if you must use bait
Safety disclaimer: If you have kids or pets, use extra caution with traps and especially rodenticides. Consider enclosed traps or professional guidance. If you suspect disease exposure, consult a health professional.
Step 4: Trap Placement That Actually Works (Most People Do This Wrong)
This is the “little-known” difference between catching mice and watching mice ignore your traps.
The rule: trap where mice hug the wall
Mice rarely run across open floors. They travel edges.
Correct placement:
Place traps perpendicular to the wall with the trigger end touching the wall.
Put traps:
Behind fridge and stove
Under sink (if plumbing gaps exist)
Along pantry edges
Near droppings (but not directly on top of them)
How many traps?
Light signs: 4–6 traps
Moderate signs (daily droppings): 8–12 traps
Heavy signs / multiple rooms: 12–24 traps
Best bait (and a pro tip)
Peanut butter works well because it’s sticky and hard to steal.
Add a tiny bit of oat or chocolate smear to increase interest.
Pro tip: Use a pea-sized amount. Too much bait lets mice lick without triggering the trap.
Step 5: Exclusion (Seal Them Out) — The Part That Makes Results Permanent
If you trap without sealing, you’re basically running a “mouse treadmill.”
The CDC recommends sealing openings and suggests steel wool plus caulk for small holes, and more durable materials like metal/hardware cloth for larger gaps.
What size holes matter?
House mice can squeeze through very small gaps—commonly cited around ¼ inch and similar small dimensions depending on the opening orientation.
Your high-impact sealing checklist (outside + inside)
Focus on these first:
Around pipes under sinks and behind toilets
Gaps around HVAC lines and utility penetrations
Garage door corners and weather stripping
Foundation cracks and siding gaps
Vents and crawlspace openings (use metal screen/hardware cloth)
Materials that work:
Copper mesh (won’t rust) + sealant
Steel wool + caulk (CDC-backed approach)
¼" hardware cloth for vents/openings
Common mistake (big one): Spray foam alone. Mice can chew it. Foam can be helpful as a sealant, but reinforce with metal mesh first.
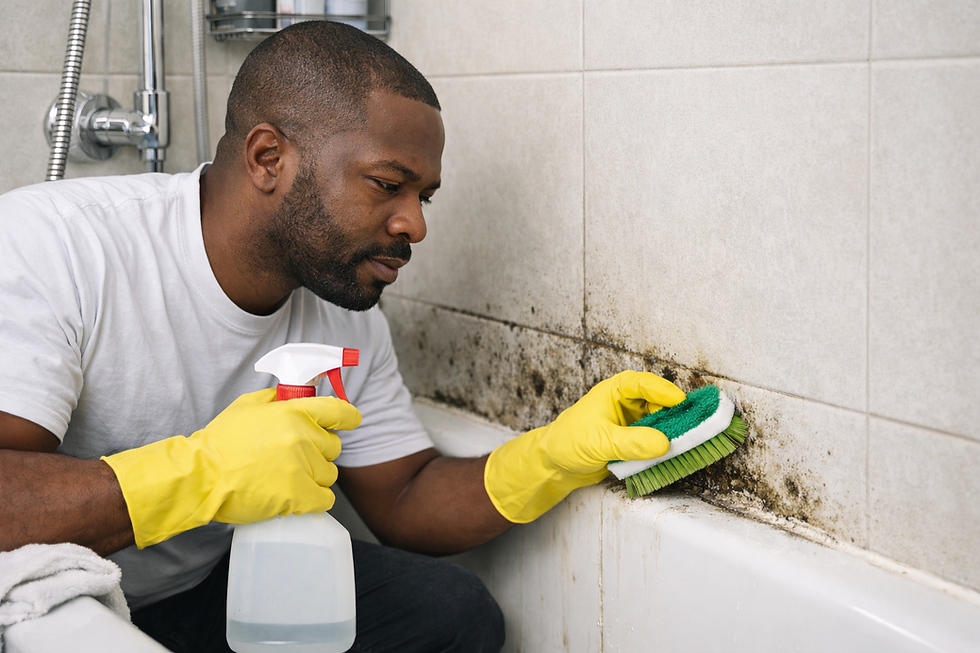
Step 6: Sanitize Safely (Don’t Sweep Rodent Droppings Like Dust)
Rodents can carry diseases. The CDC emphasizes safe cleanup practices and provides guidance for cleaning up droppings and nesting materials.
Safer cleanup basics (quick version)
Ventilate the area.
Wear gloves (and consider a mask).
Don’t dry-sweep or vacuum droppings.
Use disinfectant and paper towels; bag and dispose.
Health disclaimer: If you have asthma, are immunocompromised, or you’re dealing with heavy droppings in enclosed spaces (like attics), consider calling a professional for cleanup.
Step 7: The 7-Day “Get Rid of Mice” Action Plan
Day 1: Reset and trap hard
Food lock-down + declutter
Place 8–12 snap traps along walls (kitchen + adjacent)
Mark trap locations on your phone notes
Day 2: Inspect and rebait
Remove caught mice promptly
Refresh bait if licked clean
Add traps where activity is strongest
Day 3: Seal your top 5 entry points
Start with under-sink penetrations and exterior door gaps.
Day 4: Deep clean and remove nesting zones
Clean pantry and under appliances
Reduce clutter that could become nesting
Day 5: Expand exclusion
Seal additional gaps outside (foundation, vents, garage edges).
Day 6: Monitor
Use flour tracking again to confirm reduced travel.
Day 7: Evaluate
No new droppings for 48–72 hours?
No new trap activity? If yes, shift to prevention mode (below). If not, troubleshoot.
Troubleshooting Flowchart: “If This Happens, Do That”
If you’re catching zero mice but seeing droppings…
Move traps to walls and behind appliances.
Increase trap count.
Remove competing food sources (pet bowls overnight, crumbs).
Check for new entry points and seal.
If you catch 1–2 mice… then nothing… then droppings return
You likely have multiple entry points. Seal first, then keep trapping.
Inspect around pipes and the garage perimeter.
If mice avoid traps or lick bait without triggering
Use less bait (pea-sized).
Switch to a different trap style (electric or different snap design).
Set traps in pairs (two traps side by side along the wall).
If you smell a dead mouse and can’t find it
This can happen after rodenticide use or inaccessible trap areas.
Avoid using poison as a first-line method for this reason (odor + unknown location).
If activity is in the attic or crawlspace
Use hardware cloth on vents.
Trap near entry routes (rafters, insulation edges).
Consider professional help if it’s widespread.
Prevention: Keep Mice from Coming Back (IPM Approach)
The EPA describes Integrated Pest Management (IPM) as using common-sense, comprehensive information and combining methods to manage pests with the least hazard. Rodent experts also emphasize prevention, sanitation, and exclusion—using rodenticides as a last resort.
Ongoing prevention habits (simple but powerful)
Weekly: wipe crumbs, take trash out, sweep under pet feeding area
Monthly: check weather stripping, door sweeps, pipe penetrations
Seasonally: inspect exterior perimeter (especially before fall—mice often move indoors as temps drop)
When to Call a Pro (and Why It’s Sometimes Cheaper)
DIY is great—until it’s not.
Consider a licensed pest professional if:
You have mice in multiple rooms for more than 2 weeks
You’ve sealed gaps and trapped heavily but activity continues
You suspect a wall/ceiling nest you can’t access
You need attic/crawlspace remediation
In Virginia, public health guidance also emphasizes sealing, trapping, sanitation, and considering licensed pest professionals for safe, effective control.
FAQs (SEO-friendly, real answers)
1) How long does it take to get rid of mice?
If you trap correctly and start exclusion quickly, many homes see major improvement in 3–7 days, then you confirm success over 2–3 weeks of monitoring.
2) What’s the fastest way to get rid of mice?
Fastest is multi-trap snap trapping + immediate food removal, followed by sealing entry points. Traps without sealing usually becomes an ongoing cycle.
3) Do ultrasonic plug-ins work for mice?
In most real-world cases, they’re not reliable as a standalone solution. If they help at all, it’s usually minor and temporary—don’t bet your kitchen on them.
4) Is it better to use poison or traps?
For most homes: traps first. Poison can create secondary risks (pets/wildlife exposure) and dead-mouse odor in inaccessible spaces. Experts commonly recommend IPM and using rodenticides only as a last resort.
5) What should I seal holes with so mice can’t chew through?
For small holes: steel wool + caulk is a commonly recommended approach. For durable exclusion: copper mesh + caulk or metal screen/hardware cloth for larger openings.
6) Why do I still have mice even after catching a few?
Usually one of three reasons:
You didn’t seal entry points yet,
Trap placement is off (not along walls/runways),
There’s still an easy food source (pet food, crumbs, pantry bags).
Next Steps and Key Takeaways
If you only remember five things, make it these:
Trap like a pro: place traps along walls, behind appliances, and use enough traps to matter.
Remove food and nesting materials first so traps become the most attractive option.
Seal entry points early—steel wool/copper mesh + caulk for small holes, metal screen/hardware cloth for larger areas.
Clean up safely (no dry sweeping/vacuuming droppings).
Monitor for 2–3 weeks so you don’t declare victory too soon.


Comments